Needle-Felting: How to Start
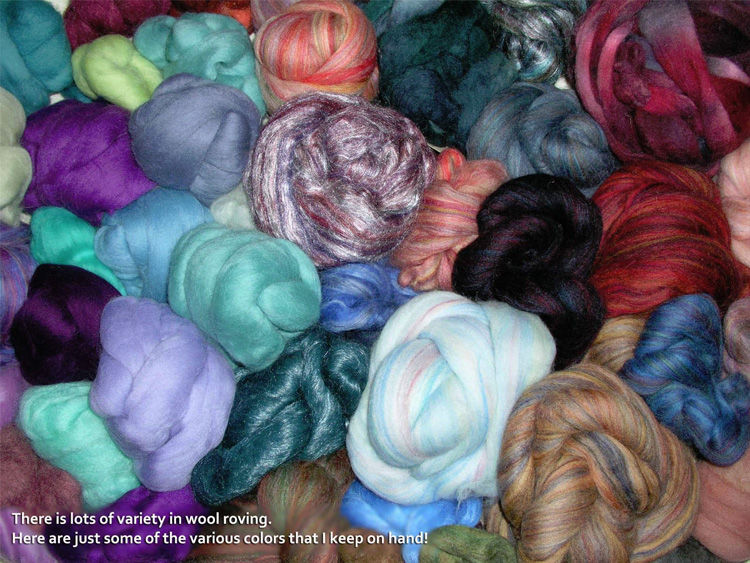
There are two kinds of needle felting: "Applique" and "In-the-Round" (3D). Almost all of the felting that I do is "in the round", though some applique techniques apply when making clothing for dolls or any flat pieces. Either way, you need wool roving and a felting needle. Roving . . . it's one of my favorite things. Lots of colors are handy (part of my collection is shown below), but you'll only need one color to start practicing.
Needle-felting is accomplished by poking barbed/notched needles into wool roving (or other fibers like llama, alpaca, et al). As the small barbs are pushed into the wool, they "tangle" the roving and felt the wool. The more you poke the roving, the firmer the felt becomes, the firmer the finished product. It is a rather new art, since felting in the round only started in the 1980s. Methods and techniques are very individual, and no two pieces can ever be made exactly the same.
TOOLS: Needles, Needle Holder & Felting Mat
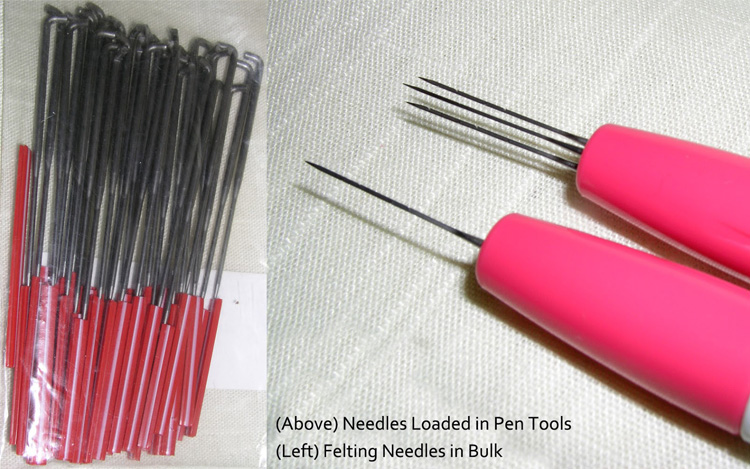
There are all kinds of tools and methods when it comes to needle felting, and each person will discover which things work for them. To read about the various tools and rovings (and my personal favorites), please click here or on the "Felting Basics" tab at the top of this page.
FELTING APPLIQUE STYLE: Large Flat Pieces or Flat Accents
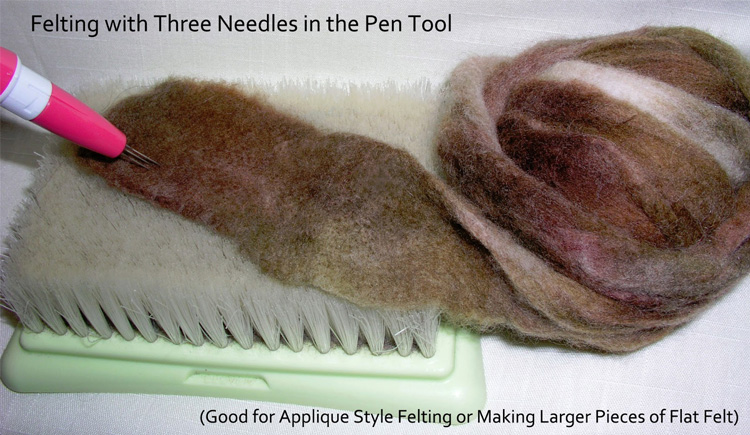
Applique felting is fun, easy and the results are rather quick. I've taken one picture to show a piece of flat felt (made from wool roving). All you do is place the desired amount and general size of roving on your mat, insert all three needles into the pen tool, and "felt" away. Don't be afraid to push your needles down into the roving --- you don't want to "prick" the wool with only the first 1/8" of your needle. Use all those barbs, and you'll have a firm and evenly-felted piece at the end. Once you've got the hang of this, you'll find that you can achieve some good speed while stabbing the needles down into the wool. Felt until the wool looks firm and smooth, then pull it off the mat. You'll see that the underside is now very woolly with all of the fiber that you've pushed down from the top. Lay that furry side up on the mat, and start felting until it looks like the first side. Continue felting each side in this manner, until the felt has a consistency suitable for your project. If you need to make a large piece of flat felt (larger than fits on your mat), then you just leave the edges of each flat piece loose (or just slightly felted). When you are ready, lay two pieces of flat, felted roving together, with the loose edges overlapping, and felt all together.
This is the same technique used for appliqueing flat designs onto something like a purse or scarf. I have never done that style of felting myself, but I have seen some very nice online articles and blogs with instructions for this style.
FELTING "IN THE ROUND": Dolls, Animals and 3D Work
Felting in the round is a lot of fun, similar to carving wood. In fact, finished in-the-round pieces are commonly referred to as Wool Sculptures. If you're successful, you start with a pile of wool roving and end up with a doll (or animal) that has character and personality. There is no "right way" or "wrong way" when it comes to felting in the round. Every person will develop their own techniques and tricks. If you have an idea that makes your work easier, go for it!
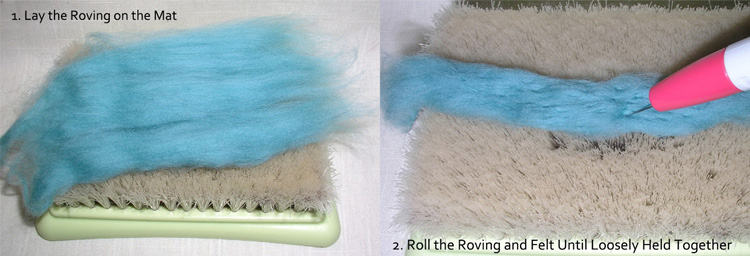
Multiple pen tools make life a lot simpler. I always have two pen tools at hand, one loaded with one Size .40 needle, the other with a .42. This saves time when switching between sizes during a project. Only twice, during each doll, will I load multiple needles into a pen. The first is for making the head, when I start by using three needles at once to felt a long, flat piece which is then rolled into a sort of ball shape. This not only saves time but produces a firmer head. Once I get to this stage, I switch back to just one needle and work on turning this rough-felted ball into a smooth, oval shape for the head. The only other time that I use multiple needles in my pen is for felting flat pieces for the clothes. I find that it takes a minimum of three needles to produce a nice flat piece, but all detail work is always only ever done with a single needle in the pen.
To achieve a three dimensional shape, you must regularly turn the wool on the mat as you are felting. Never felt in one area or on one side for too long. (You'll figure out how long is too long, when your piece starts to change shape. Just keep working at it, and you'll figure out what works best for your style and supplies. And don't be afraid to discard felted bits gone wrong.) If you don't roll the piece around as you work, it will flatten out in no time at all. The biggest challenge in 3D felting is keeping your project 3D . . . well-shaped on all sides. All I can say is that "practice makes perfect". I have made more than twenty-five needle-felted dolls, and I still have to concentrate on this aspect of the art.
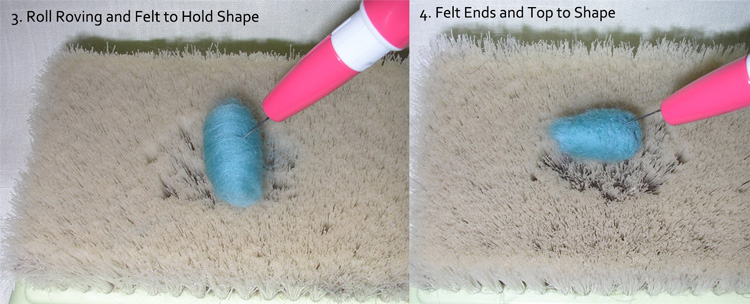
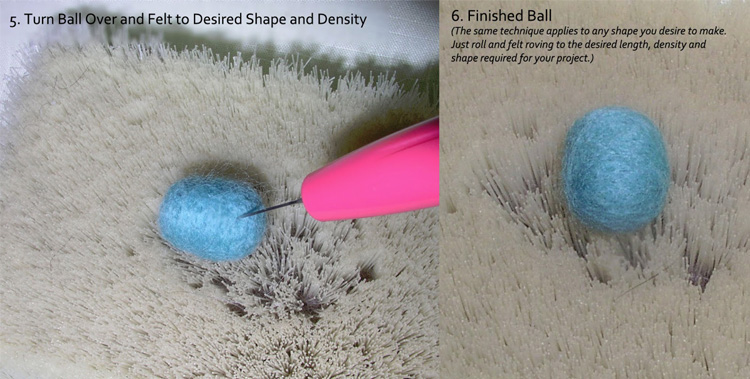
The series of pictures below shows the basic technique for felting in the round (feel free to click on the pictures to enlarge them). I just made a small ball-shaped piece, but there is no difference in technique for making a ball, a foot, a leg or a head. For details like noses and knees, you will add small pieces of wool onto the main piece as you go, but making the basic shape is always the same.
PERSONAL CHALLENGE
I try to improve a certain aspect or technique with each new project. When working with a human figure (or animals), achieving the proper proportions is the real challenge.

